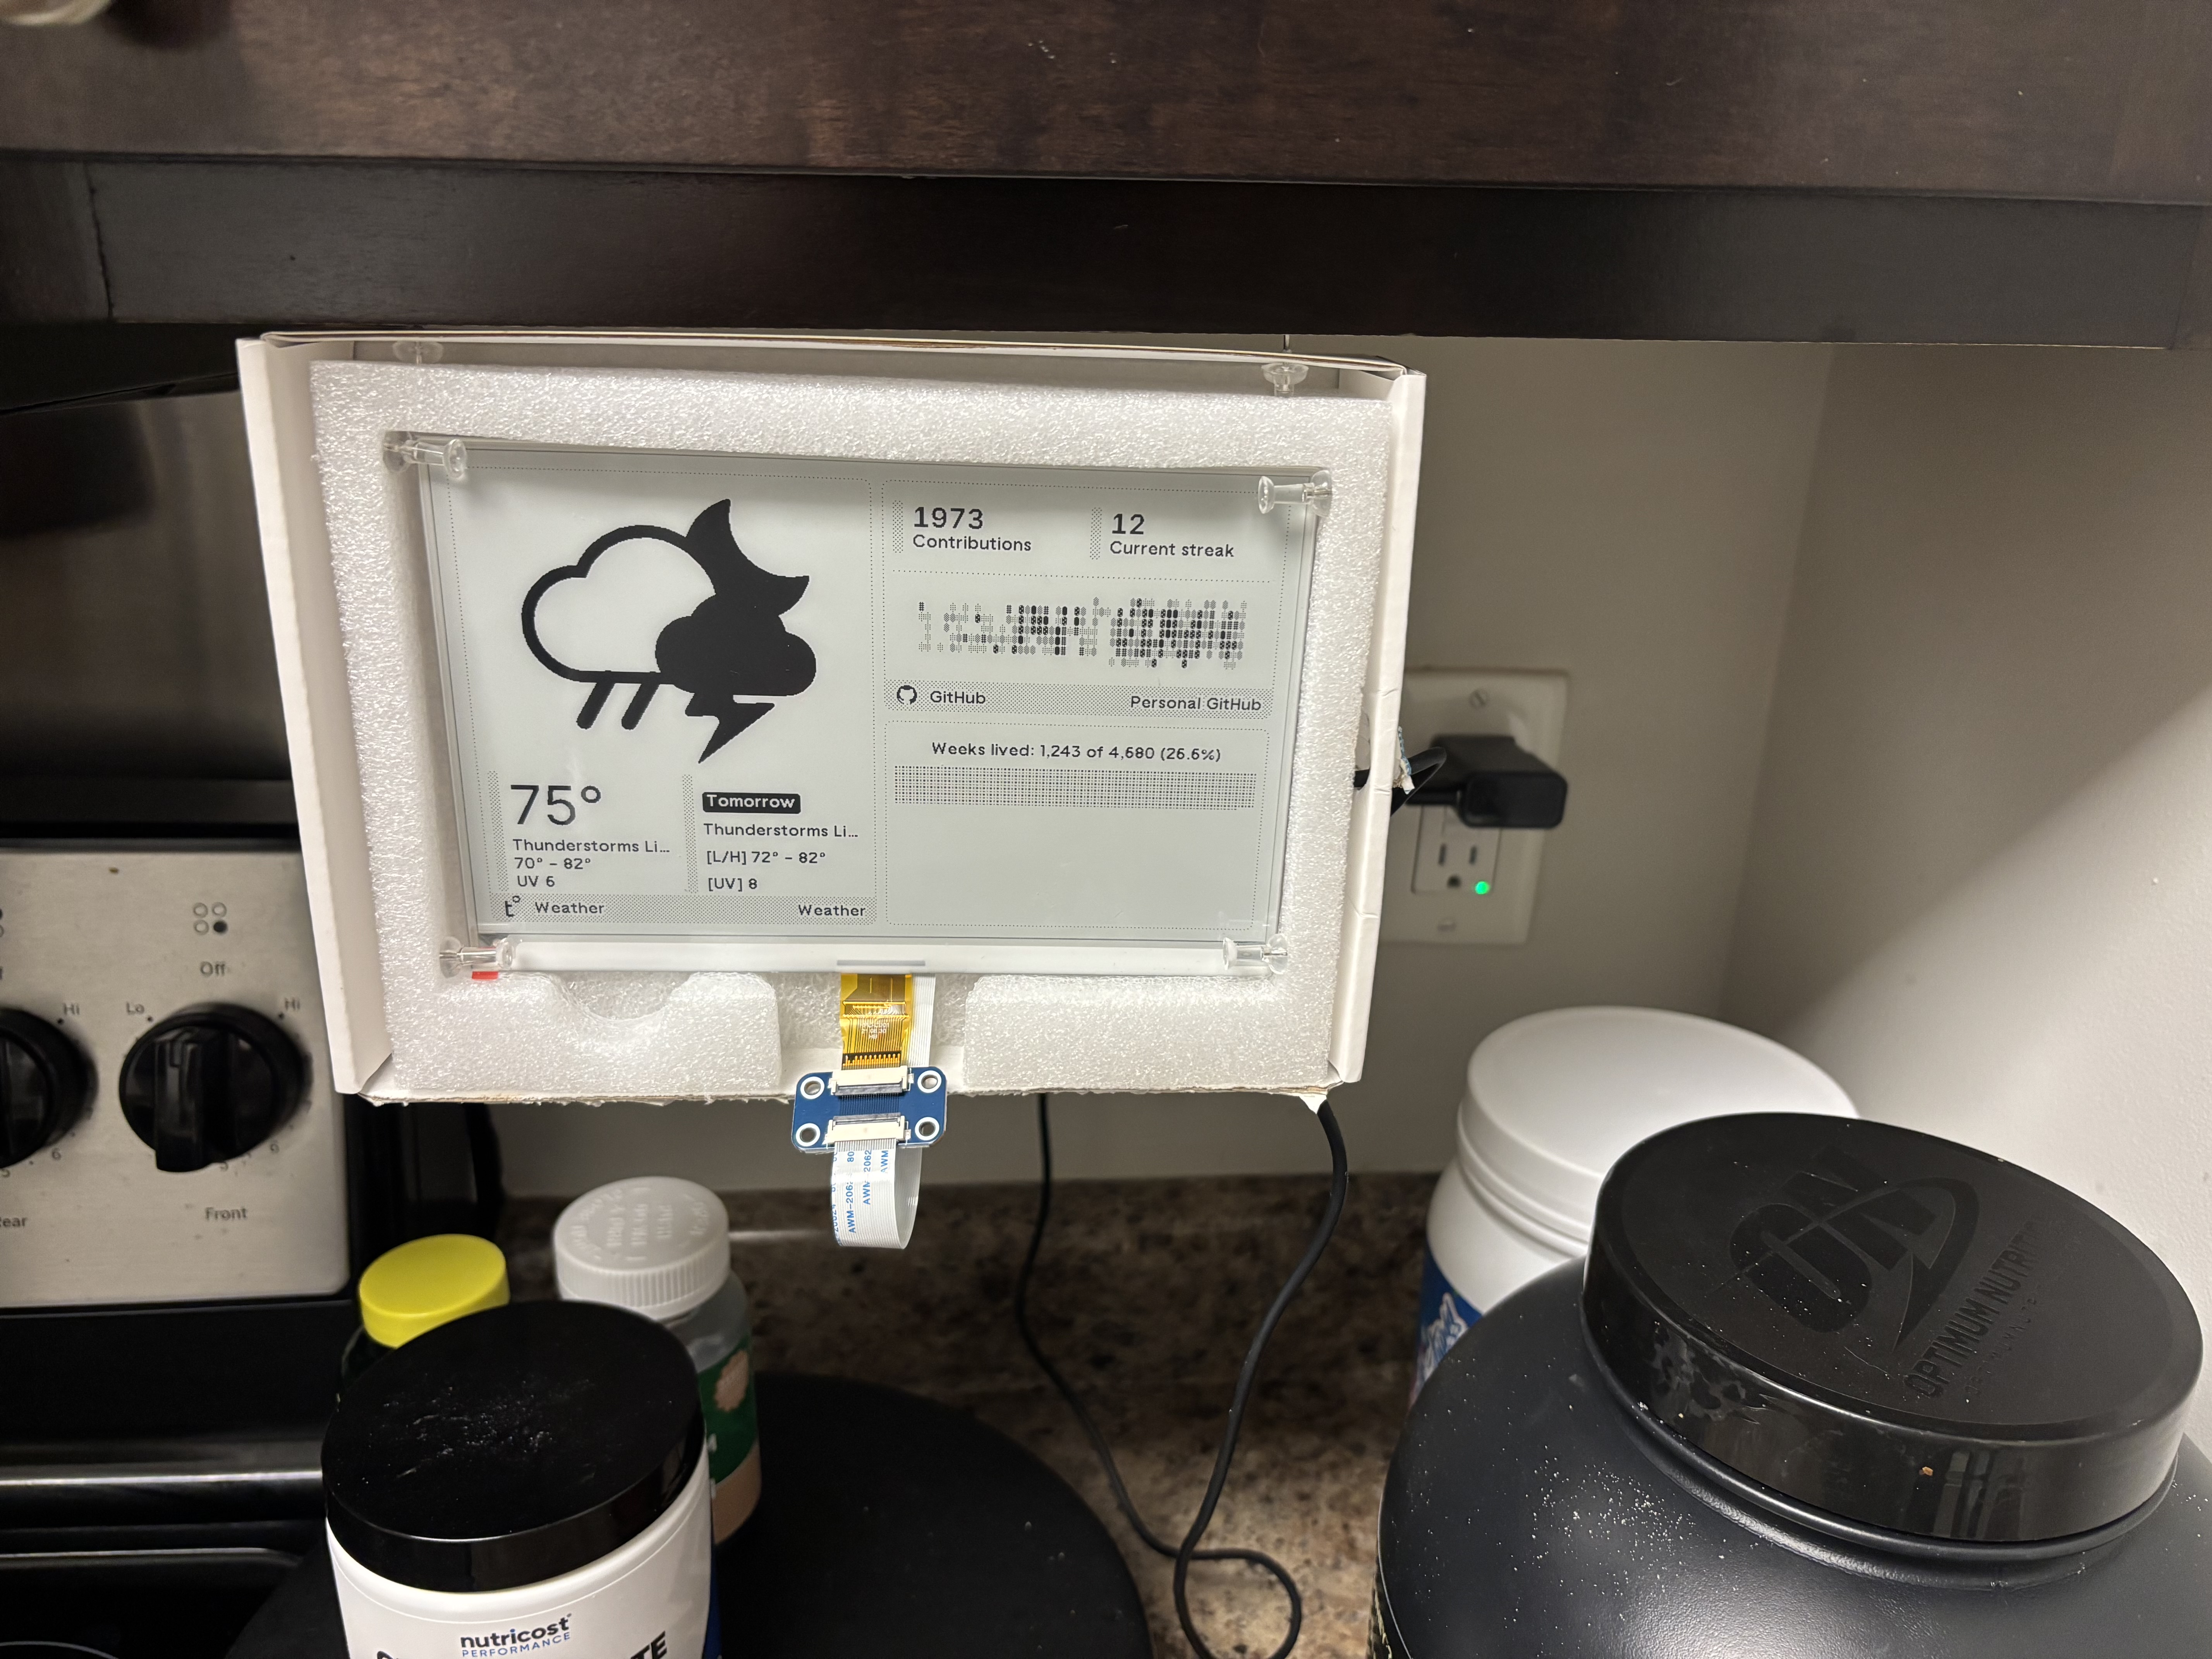
Finally, the device arrived. Expecting a lengthly setup process as most tech devices require grappling with the new landscape for a few hours, I was plesantly suprised to find ease. It was as simplge as connecting to the devices wifi and then connecting inputing my home wifi's password. This was it. The entire process was done! Sure, there was the personlization that took place after the fact, but this is all part of the fun in making tech your own! So, having this device sit in my house for 2 weeks, I was head-over-heels and could not stop adoring it whenever passing through the room It was located in. I needed to have another. BUUUT buying and waiting would take time and even more so what worth is my degree in conputer engineering if I cannot follow a tutorial on how to do build one yourself.
So the journey began at amazon, with buying the 3 most commonly bought together pieces of tech from the linked eInk display and crossing my fingers. 2 days later with parts in hand I open up the tutorial and start following away. Here is that journey:
First thing I did
lsusb
unplug, replug, unplug, replug... nothing changing. Surley there is a mistake.
Next step in the process is the kernel ring buffer and what we are seeing there
PSTTT: No, I did not know dmesg's offical description before, so yes I did infact man page it lol.
sudo dmesg -w
As one might expect that gave me hell unleased and no way in hell am I reading
all that junk, so yes pipe that to grep, duh.
sudo dmesg -w | grep usb
BOOM, now were cooking and I see:
[1427.623360] usb 1-3: new full-speed USB device number 5 using xhci_hcd
[1427.754665] usb 1-3: New USB device found, idVendor=1a86, idProduct=55d3
[1427.754672] usb 1-3: Product: USB Single Serial
[1427.754674] usb 1-3: SerialNumber: 5909085640
Ok, so we see the device, next step is to grab the firmware we want on it,
which is so kindly linked already in the tutorial. A simple clone and move into
repo and voila, we have tinder, matches and a firepit. So, while looking at the repo
the first thing that will stand out is the builds folder which is filled with .bin files.
Which, are exactly what we need.. or so I thought. After multiple attempts of flashing:
esptool.py --chip esp32 --port /dev/ttyACM0 write_flash -z --force 0x1000 ~/firmware/builds/FW1.5.0.bin
Note: the --force was needed to get the flash off, but was likley the wrong approach anyways.
screen /dev/ttyACM0 115200
Where the above line functions as follows:
cmd /location/of/USB Baudrate
But, with this cmd and after flashing with the binaries with no success, I get output like this:
wrong chip id 0x0005
wrong chip id 0x0005
wrong chip id 0x0005
wrong chip id 0x0005
wrong chip id 0x0005
wrong chip id 0x0005
wrong chip id 0x0005
Boot loop.. womp womp, now what? I ran into this same problem before while I was
flashing my keyboard that I made, so it wasn't the first time and certainly did not
give me as much of a scare as it did last time. The answer is simple, just write over it
again! Well, I tried multiple versions of the software, but did any work? No. So next steps?
Looking around the repo we cloned the next thing to find that could be used it the platformio.ini
file. For building it ourself! Which honestly should have been our first approach.
This would need another software for flashing:
pipx install platformio
After installing this you should be set (based on how prepared the file already was, which in our case was enough)
platformio run -e waveshare-esp32-driver
Then flash it with your new compiled binary
~/.local/bin/esptool.py --chip esp32 --port /dev/ttyACM0 erase_flash
~/.local/bin/esptool.py --chip esp32 --port /dev/ttyACM0 write_flash -z \
0x1000 .pio/build/waveshare-esp32-driver/bootloader.bin \
0x8000 .pio/build/waveshare-esp32-driver/partitions.bin \
0x10000 .pio/build/waveshare-esp32-driver/firmware.bin
And Eureka! The screen lights up and we have a new TRMNL!